Use DJ-Flyer to display your company services.
Today I'm going to describe in short steps the procedure of adding items in DJ-Flyer component.
We use this simple and easy to use extension with several our templates to display company services, I will use JM Beauty Center template as an example.
Step 1: Adjust component settings
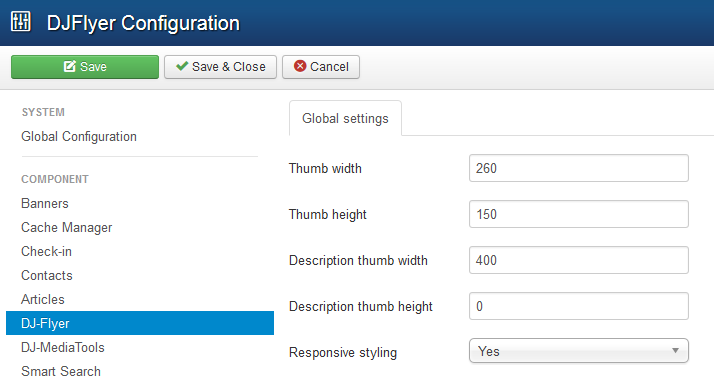
Go to Backend -> Components -> DJ-Flyer -> Options.
We can set several parameters here e.g size of images in DJ-Flyer modules.
Step 2: Add categories
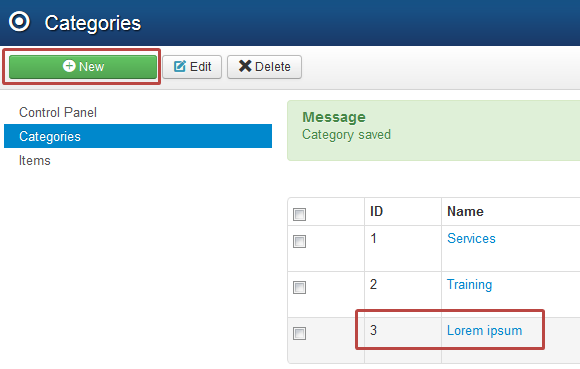
Go to Backend -> Components -> DJ-Flyer -> Categories.
On JM Beauty Center demo site we've got 2 categories.
Let's add 3rd category - Lorem ipsum.
Click New and just enter the category name.
Step 3: Add items
Once we have the categories, we can add items.
Go to Backend -> Components -> DJ-Flyer -> Items.
Click New button to create new item.

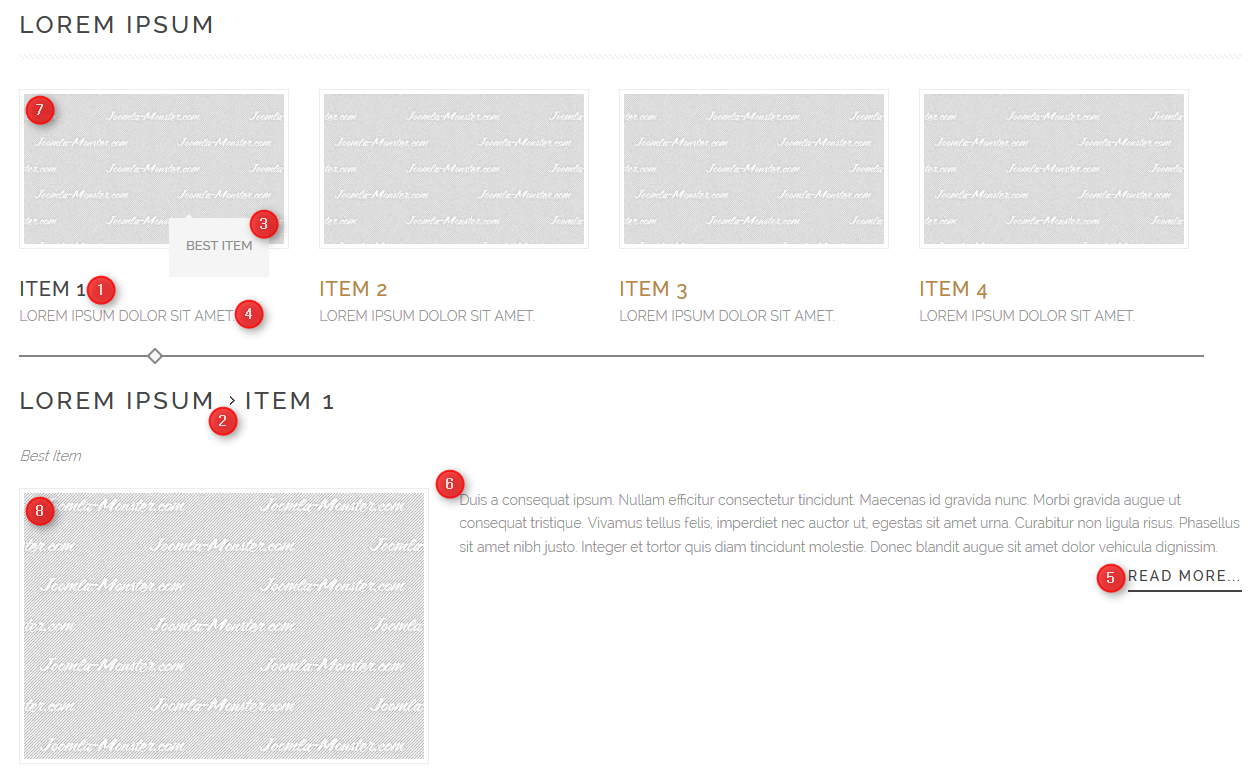
- Enter an item name.
- Select a category you want to place the item.
- Enter text for the tooltip (it will be visible when on mouse hover on the item).
- Enter intro description.
- Select the article - we can set Joomla article which will be linked below regular description as readmore (optional)
- Enter the full description of item.
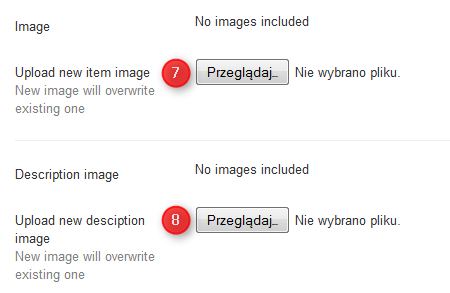
- Upload thumbnail image.
- Upload the large image visible in the full description area.
This is how it reflects on the site:
Step 4: Display the module with already created items
Once we categories and items are added, the only what we need to do now is publishing DJ-Flyer module.
Go to Backend -> Extensions -> Module Manager.
Click New button, then choose DJ-Flyer module from the module list.
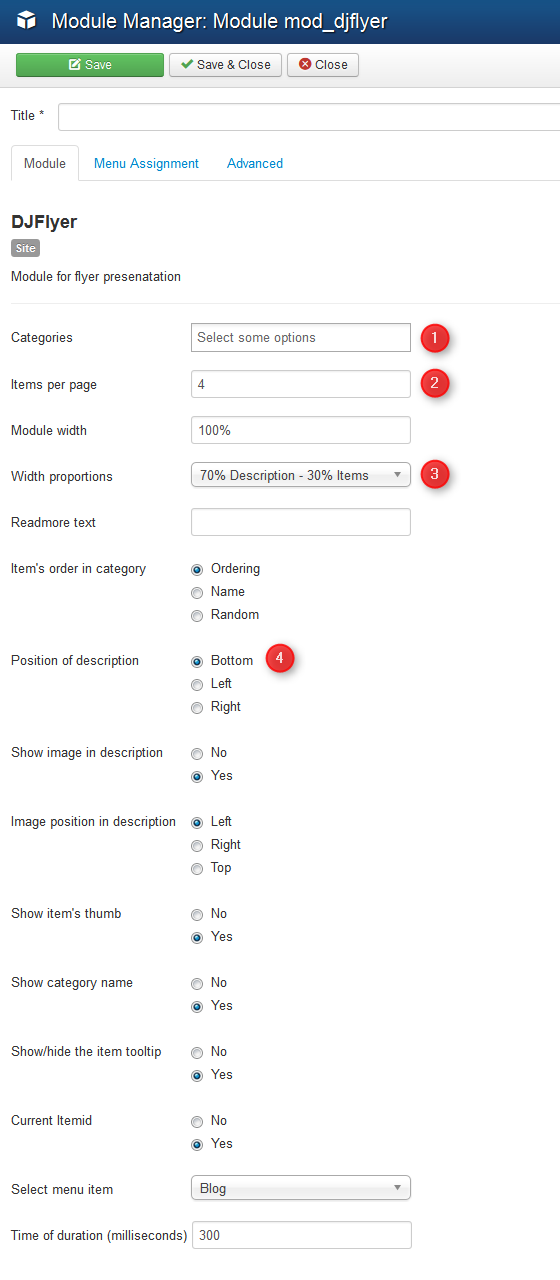
- Select category from which you like to display items.
- Choose number of displayed items.
- Set width proportion for items column and description (only if position of description left/right).
- Select available module layout.
To check examples of DJ-Fler views on JM Beauty Center demo site navigate the top menu, Extensions -> DJ-Flyer